
This week's brief was to make a model replicating a section of the John Luard building.
After taking a variety of reference photos, I began putting together the model in Maya, starting with some simplistic geometry.


Creating the steps was a little tricky, but I mainly just used grid snapping to move the each step beneath the other, in order to keep them all uniformed.


Using the insert edge loop tool along with the extrude tool, I started adding details to the building, such as doorways and windows. I also made seperate simple models for the other geometry.


I used the reference photos I had taken to create the various different textures for the model, I also made normal maps in crazy bump to bring out the details in the bricks and roof. Although I was still getting used to reusing Maya after the summer, I found that using tiled textures was fairly simple, but required a good tweaking in the uv maps. For the small props and models, I unwrapped the uvs myself manually.
Once I was with the textures, and adding various other models, I started working on the lighting for the piece, experimenting with the mental ray options.
I then rendered a variety of angles for results.


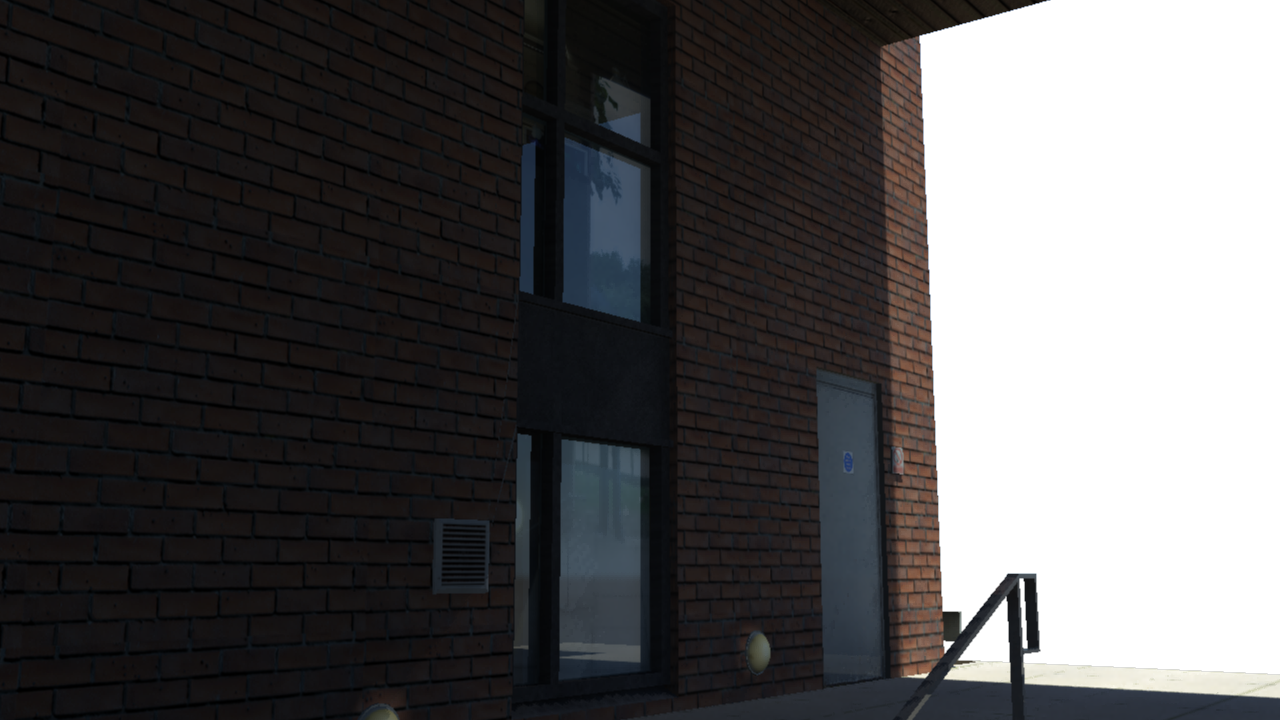
Overall I'm happy with the results, I found that the lighting and render settings made a huge difference to the result of the work. I think if I had more time, I would of maybe started working on adding more details, such as the various wires and cables hanging off the building. Also my uv maps are a bit of mess when looking at them, but for the purpose of this project, I felt they worked well, however I would most certainly unwrap them manually in future, even for the tiled textures.