
Since the last update with the Maya turret we've mainly been texturing it, and learning how to make normal maps in Maya.


To start with I would duplicate the turret, and add additional details to it - increasing the poly count and adding depth and bumps. After sorting out the uv maps on the original lower poly model, I exported both turrets soon after.

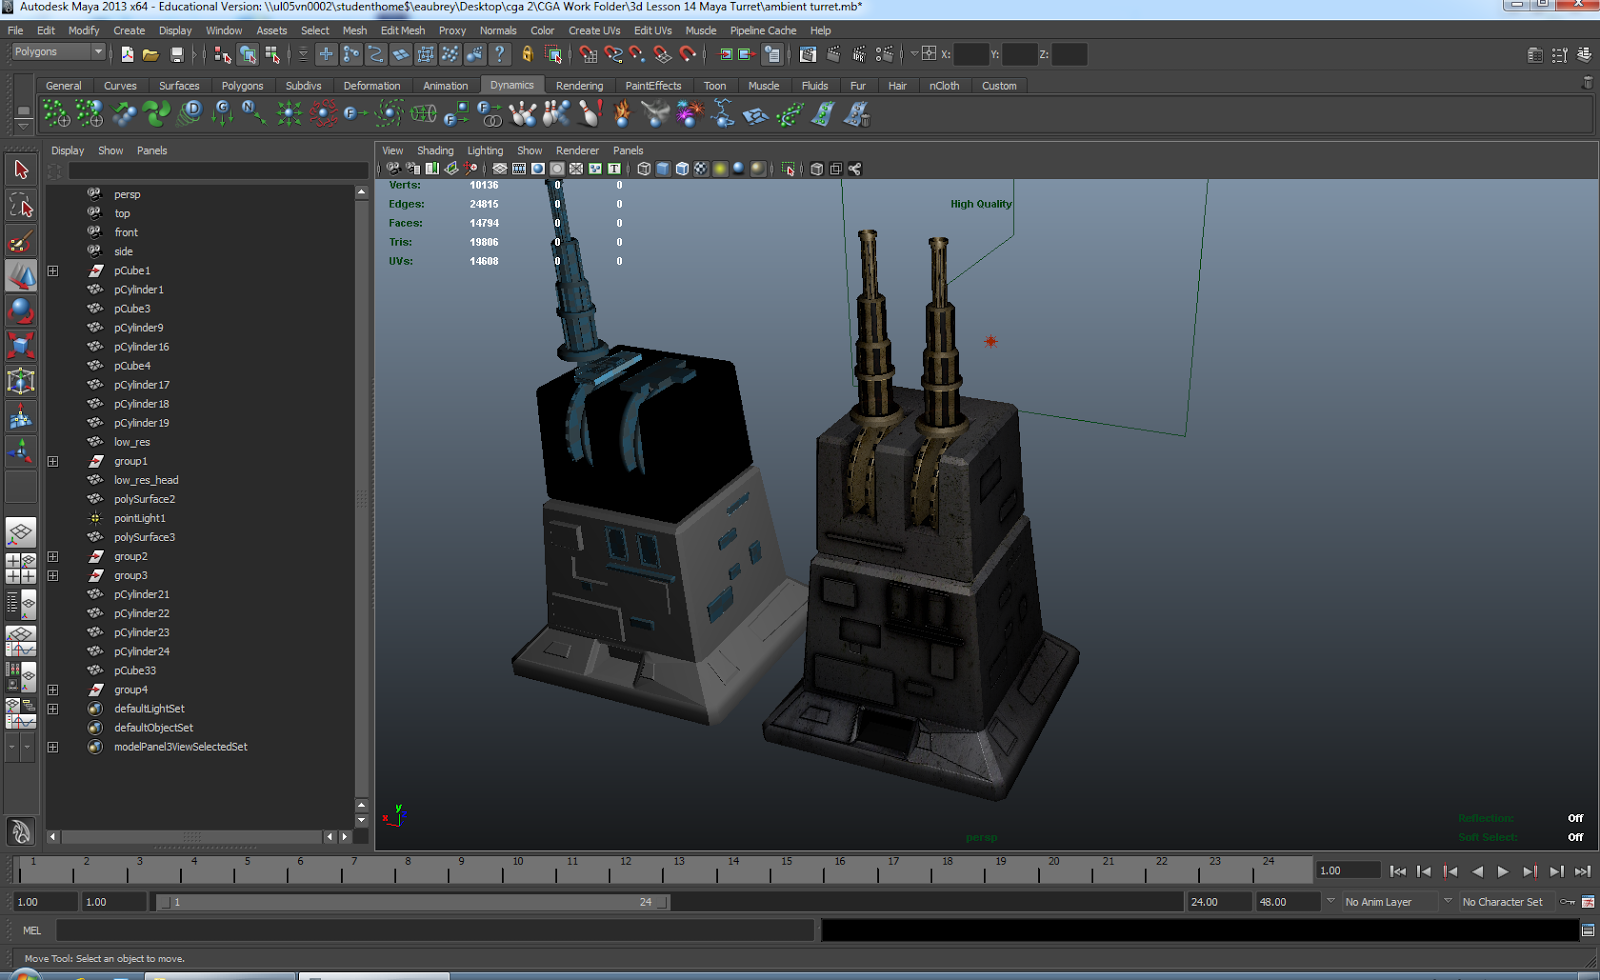
Using a program called xNormal I generated an ambient and normal map from the higher res model which could be applied to the lower polygon turret- giving it extra details without the higher polygon count. I also used the ambient map as the base for my colour/diffuse texture.
I found this a useful method overall as it can really add additional detail to a model making it stand out, whilst still being optimised with the lower polygon count.
No comments:
Post a Comment